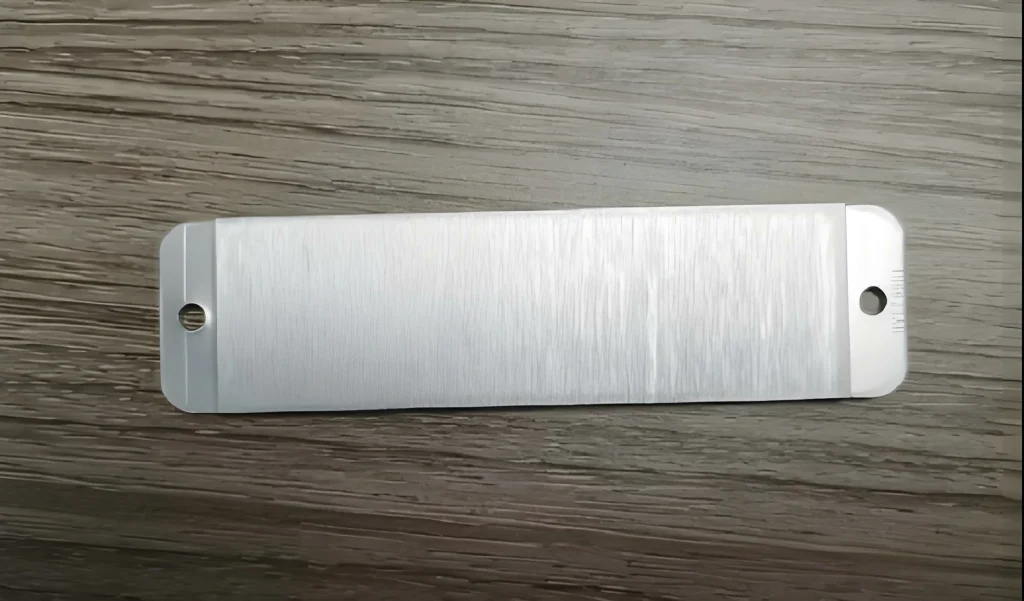
1.Aluminum Heat Sink Inspection: Visual and Dimensional Methods
In electronics and industrial manufacturing, Aluminum Heat Sink Inspection plays a vital role in ensuring long-term product performance and preventing costly failures. Many manufacturers face a common challenge—uncertainty about which inspection method truly guarantees product reliability. While visual inspection can identify surface defects quickly, dimensional inspection ensures precise measurements for thermal efficiency and assembly compatibility. Choosing the right combination of both methods is the key to achieving consistent quality. In this guide, we break down the essential steps, tools, and standards for heat sink quality inspection, along with practical tips from professional aluminum heat sink testing services.
2.Why Aluminum Heat Sink Inspection Matters
Heat sinks are critical in electronics assembly, industrial machinery, and LED lighting systems, where overheating can cause serious component damage. Defective heat sinks—whether due to poor surface finish, incorrect dimensions, or structural flaws—can lead to:
1.Reduced thermal conductivity
2.Mechanical instability during assembly
3.Increased product returns and warranty claims
4.Shortened service life of electronic devices
(1)A professional heat sink inspection service ensures:
1.Dimensional accuracy for proper fitment
2.Visual defect detection to maintain appearance and performance
3.Compliance with industry standards for quality control
3.The Two Main Methods: Visual vs. Dimensional Inspection
Manufacturers often ask: “Which inspection method ensures product reliability?” The answer is—both methods are necessary for complete aluminum heatsink QC service.
| Inspection Type | Purpose | Key Defects Found | Tools Used | Best For |
| Visual Inspection | Identifies surface and cosmetic issues | Scratches, dents, burrs, oxidation, poor anodizing | Magnifiers, optical comparators, inspection lights | Quick defect screening |
| Dimensional Inspection | Verifies critical measurements and tolerances | Incorrect width, height, fin thickness, hole spacing | Calipers, micrometers, CMM machines, 3D scanners | Precision fit and thermal performance |
4.Visual Inspection: Step-by-Step Guide
How to perform visual inspection of aluminum heat sinks effectively:
Step 1 – Preparation
Clean the heat sink surface to remove dust and oil
Use neutral lighting to avoid false defect identification
Step 2 – Surface Examination
Look for scratches, dents, and burrs
Identify color inconsistencies in anodized surfaces
Check for oxidation spots and poor coating adhesion
Step 3 – Structural Integrity
Inspect fins for bending or deformation
Check mounting holes for burr-free edges
Step 4 – Documentation
Record defects with high-resolution images
Classify each defect by severity (critical, major, minor)
Can visual inspection detect all heat sink defects?
No—while it is effective for visible flaws, it cannot detect hidden dimensional errors or microstructural issues.
5.Dimensional Inspection: Step-by-Step Guide
Why is dimensional inspection important for heat sinks?
Even a 0.1 mm deviation can affect thermal contact with components, causing overheating.
Step 1 – Identify Critical Dimensions
Overall width and height
Fin thickness and spacing
Hole diameter and placement
Base flatness for thermal contact
Step 2 – Select the Right Tools
Vernier calipers for quick checks
Micrometers for high-precision measurements
Coordinate Measuring Machines (CMMs) for 3D geometry
Optical measuring systems for complex fin structures
Step 3 – Conduct the Measurement
Measure multiple points for consistency
Compare results with CAD specifications or technical drawings
Step 4 – Data Analysis
Identify deviations beyond acceptable tolerance
Recommend rework or rejection of non-conforming parts
6.Tools for Heat Sink Inspection
(1)What tools are used for dimensional inspection of heat sinks?
Digital calipers & micrometers
Profile projectors
Laser scanners
Surface roughness testers
CMM (Coordinate Measuring Machine)
(2)For visual inspection:
Magnifying lamps
Optical microscopes
High-intensity LED inspection lights
7.Industry Standards for Heat Sink QC
(1)What standards apply to visual and dimensional heat sink inspection?
1.ISO 2768 – General tolerances for linear and angular dimensions
2.ISO 4287 – Surface texture requirements
3.IPC-A-610 – Electronics assembly acceptance criteria
4.ASTM B209 – Aluminum alloy specifications
Following these ensures compliance with global quality benchmarks.
8.Common Visual Defects in Aluminum Heat Sinks
1.Scratches and dents – From poor handling
2.Burrs – From improper machining
3.Anodizing streaks – From uneven coating
4.Warping – Due to improper cooling after extrusion
5.Surface oxidation – From inadequate storage
9.Frequency of Inspection
(1)How often should heat sinks undergo dimensional inspection?
1.High-volume production: Daily sampling or inline inspection
2.Small batch production: 100% inspection before shipment
3.Custom manufacturing: Inspection after each major machining stage
10.Improving Accuracy in Heat Sink QC
(1)How to improve accuracy in heat sink QC inspection:
1.Use calibrated measuring equipment
2.Train inspectors on heat sink-specific tolerances
3.Implement a two-step QC process (visual first, dimensional second)
4.Use digital inspection records for traceability
11.Cost Considerations
(1)Cost of visual and dimensional heat sink inspection varies depending on:
1.Complexity of the heat sink design
2.Volume of parts inspected
3.On-site vs. lab-based service
4.Required accuracy level (±0.01 mm tolerances cost more to verify)
12.On-Site vs. Third-Party Inspection
(1)On-site heat sink inspection and measurement service advantages:
1.Immediate defect detection
2.Faster corrective action
3.Reduced shipping delays
(2)Third-party professional heat sink measurement and inspection service advantages:
1.Neutral, unbiased results
2.Access to advanced measurement equipment
3.Certified inspectors for compliance audits
13.Choosing a Reliable Inspection Partner
Look for an inspection provider who:
Has experience in industrial heat sink quality control service
Offers precision aluminum heat sink inspection solutions
Understands electronics assembly requirements
Provides both visual and dimensional heat sink inspection
14.Final Recommendation
For complete reliability, combine visual inspection with precise dimensional measurement. Relying on just one method risks missing critical defects that could impact performance. Professional aluminum heatsink QC service for precise dimensions ensures every part meets your thermal and mechanical requirements.
This article was written by a senior quality engineer at Welle , with over 8 years of experience in thermal component inspection and manufacturing quality control. Our team has conducted thousands of heat sink inspection services for electronics, automotive, and industrial manufacturers worldwide.

